
Adding a new Hard Drive in Hyper-V is extremely quick and simple.
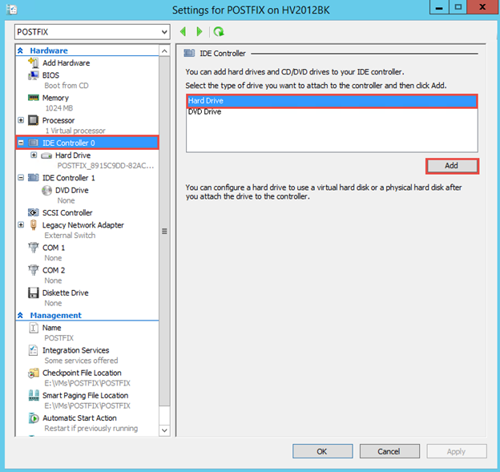
First up open the settings for your Virtual Machine and find and click on IDE Controller 0, then click Add.
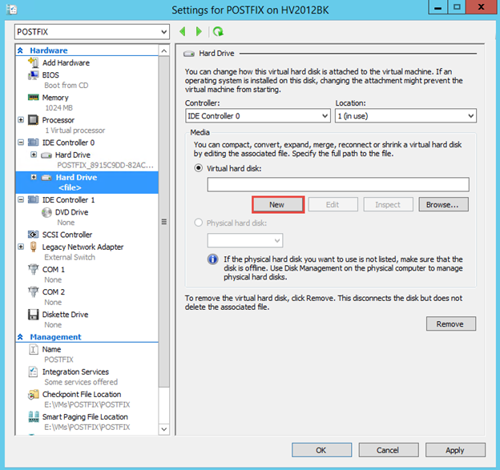
Then click New
On the popup wizard choose VHDX and then click Next
Then choose Dynamically expanding

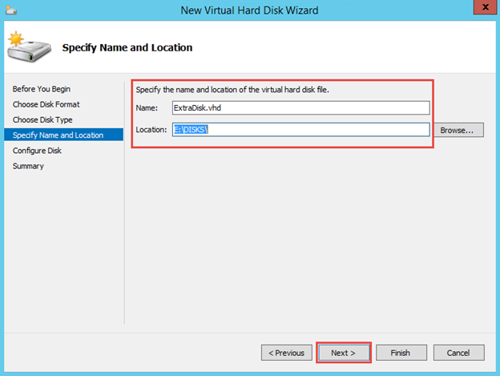
Specify the file name and location to store the disk and then click Next
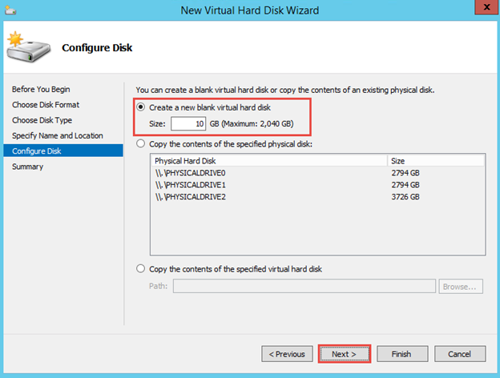
Enter a size, for example 10GB and click Next
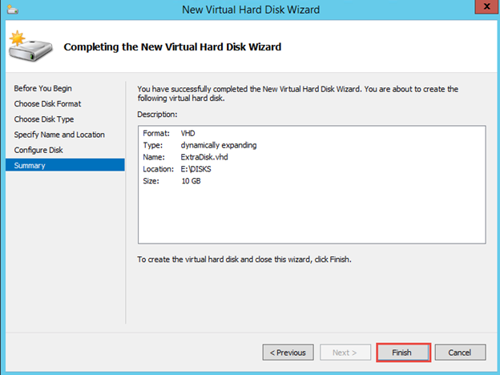
Click Finish
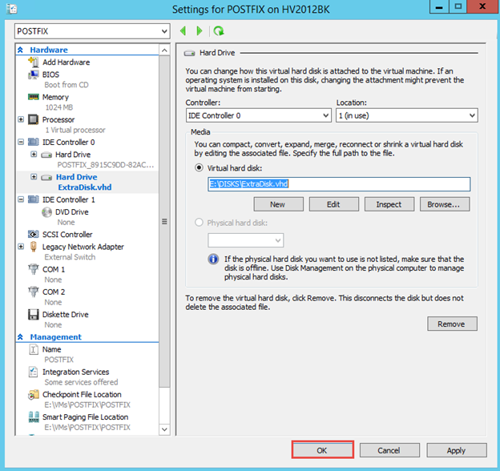
Finally click Ok
And that's all there is to it for creating and attaching the disk, there are more steps however to make it usable.
In Windows you need to use the Disk Management to format the disk or create partitions to make it useable, Linux however has a bunch more steps.
I have covered how to format and mount the drive to Ubuntu Server 19.10 here.
Comments
Recent Posts


Categories
